Monday, February 9, 2009

Eliot Coven Project 2 Blog 1


Today in class I got a significant amount of work done. I started by purchasing 20, 40, and 60 mil. pieces of styrene and a bottle of weld on. I planned on using the 20 mil for the curved pieces and the 60 mil. for the flat structural pieces. I bought 40 mil. just in case I might need it somewhere down the road. I closely examined a previously made model that was in the display case to get a feel for what sort of process I would take and to get a 3D view of what it actually looks like, this was very helpful. I planned on laying each piece out on paper and then transferring it to the styrene but found that this was an unneeded and time consuming step. Instead, I began laying out pieces straight onto the styrene, making sure they were all square. I got all my pieces laid out and cut two of them before class was over. I found out that scoring the lines multiple times cuts down on sanding and scraping. In the next class I will cut the rest of the pieces and begin to cut structural elements, such as 45 degree angle inserts for the inside of my model.

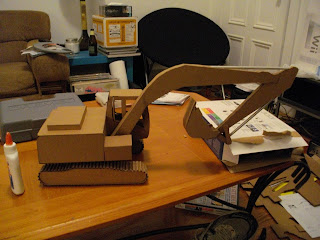
Finished Cardboard Caterpillar


The front shovel slides out.

I'm tempted to paint her iridescent lavender. I considered adding rhinestones but I think that would be too much.

Progress Post


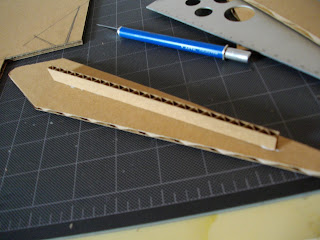
Tools and specs and what I'd gotten done in class as of last weekend. I hadn't been having an easy time figuring out how to go about it, and wasn't getting very far, but it all started to come together around 3:00am.


Mess ensued.

I got this idea for how to make the tracks move.


They move if you hold them with two hands and push them around the "track disc", but not really when you try and push the whole thing around like a toy truck. It was still fun to try though.


The inside gear wheel does turn with the tracks.

Alternative Use for Cardboard

As lamps


Artists in Japan who painted their Cardboard Homes:


Jordan Finished Excavator


This project was very time consuming but fun to see things come together along the way. I started by printing an enlarged side view. I decided to trace and cut out all the pieces I needed to build the excavator. I began by assembling the treads. From there I measured, rabbit-cut, and built the cab. What was most difficult was trying to construct the front view. These images were not dimensionalized. I assembled the crane and scoop last and added dowels and a lazy susan as moving parts.

Process part 4


Process part 3


Process part 2


Matt's Finished Hydraulic Excavator


Here are some process shots. sorry they were not uploaded earlier.

Vlad's Finished CAT

Posted by Picasa

Carolyn's Finshed Model


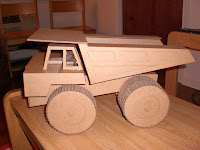
I have finshed my cardboard model of my off highway trunk. In the model the wheels turn and the truck bed lifts up. I had to take into consideration that the back of the truck bed was lighter then the front so I had to add weight in the back to allow the truck bed to stay in the upward position.